

Kegels aren’t the answer to everything. If your pelvic floor muscles are already tight, squeezing them harder only makes things worse. What you actually need is the opposite: intentional relaxation. Yoga offers a proven way to release tension, restore flexibility, and retrain muscles that have forgotten how to let go.
This guide walks you through exactly how to use yoga for pelvic floor relief:
- Why yoga works when other exercises fail
- The connection between breathing and pelvic floor release
- 8 poses specifically designed for relaxation
- Step-by-step instructions with modifications
- Best yoga styles for pelvic health
- Mistakes that keep muscles tight
- When to combine yoga with professional care
At Natura Dermatology & Cosmetics in Fort Lauderdale, we take a holistic approach to women’s wellness. Our team can help you explore complementary treatments that support your pelvic health journey.
Why Yoga Works When Other Exercises Fail
Most fitness routines focus on strengthening muscles. Squats, lunges, Pilates, even Kegels. The assumption? Stronger equals better.
But here’s the problem: a tight pelvic floor isn’t a strong pelvic floor. It’s an exhausted one. And asking overworked muscles to contract even harder is like telling someone with a clenched jaw to bite down more.
Yoga takes a different approach. Instead of forcing contraction, it teaches your body how to let go.
What Makes Yoga Different
Traditional pelvic floor exercises target one muscle group in isolation. Yoga works with the entire system. Your hips, spine, inner thighs, core muscles, and pelvic floor are all connected through fascia (connective tissue). When you stretch one area, the surrounding muscles respond.
This matters because pelvic floor tightness rarely exists in isolation. Tight hips? They pull on the pelvis. Tense lower back? It affects your tailbone, where the pelvic floor attaches. Yoga addresses all of it simultaneously.
The Mind Body Connection
Your nervous system controls muscle tension. When you’re stressed, anxious, or holding emotional trauma, your pelvic floor often clenches reflexively. No amount of physical exercise can override a nervous system stuck in “fight or flight” mode.
Yoga directly targets this connection. The combination of breath, movement, and mindfulness activates your parasympathetic nervous system. This signals your body to relax. Release tension. Let go of guarding patterns that have become automatic.
Pro tip:If you’ve tried pelvic floor exercises without improvement, the issue likely isn’t weakness. It’s an inability to relax.
The Connection Between Breathing and Pelvic Floor Release
Your diaphragm and pelvic floor are dance partners. They move together with every breath you take, whether you notice it or not.
How It Works
When you inhale:
- Your diaphragm contracts and moves downward
- This pushes your abdominal organs toward the pelvis
- Your pelvic floor responds by dropping and lengthening
When you exhale:
- Your diaphragm relaxes and rises
- Your pelvic organs shift upward
- Your pelvic floor gently lifts back to its resting position
This rhythm happens thousands of times daily. A healthy pelvic floor stretches on the inhale and recoils on the exhale. Problems arise when muscles become too tense to participate in this natural movement.
Why Deep Breathing Matters
Shallow chest breathing bypasses the pelvic floor entirely. The diaphragm barely moves, so there’s no signal for the pelvic muscles to relax.
Deep breathing changes everything. When you breathe into your belly and let your ribcage expand, you’re essentially giving your pelvic floor a gentle internal massage. Each inhale encourages lengthening. Each exhale allows natural recoil.
This is why diaphragmatic breathing is the foundation of every yoga practice for pelvic health. It’s also why physical therapists consider it one of the best exercises for pelvic floor dysfunction.
Try This Now
- Lie on your back with knees bent, feet flat on the floor
- Place one hand on your chest, one on your belly
- Inhale slowly through your nose, directing breath toward your belly
- Feel your belly rise while your pelvic floor softens downward
- Exhale and let everything release naturally
- Repeat for 2-3 minutes
Notice any sensation in your pelvis? That’s your pelvic floor responding to breath.
8 Poses Specifically Designed for Relaxation
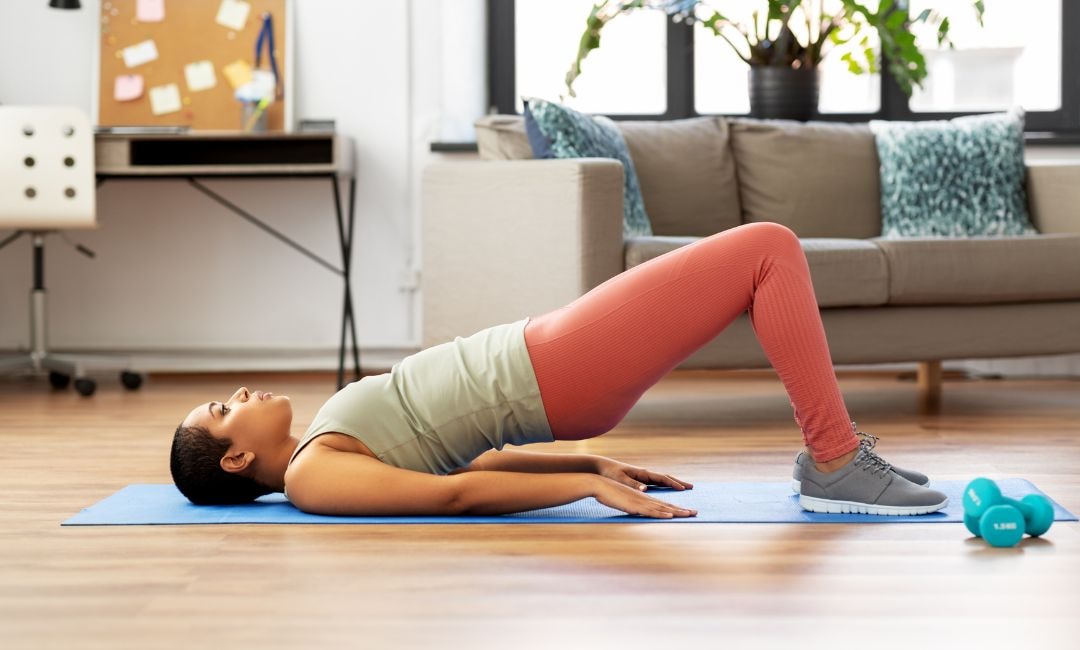
These yoga poses target the muscles directly connected to the pelvic floor. Hold each for 5-10 deep breaths, focusing on release rather than stretch. The goal isn’t intensity. It’s surrender.
1. Happy Baby Pose (Ananda Balasana)
Happy baby pose is a go-to for pelvic pain relief. It opens the hips, stretches the inner thighs, and creates space for the pelvic floor to drop.
Benefits:
- Releases tension in the hip adductors
- Lengthens pelvic floor muscles
- Encourages deep relaxation
2. Child’s Pose (Balasana)
Child’s pose is deceptively powerful. The wide-knee variation creates a gentle opening in the pelvic area while signaling your nervous system to calm down.
Benefits:
- Stretches the lower back and hips
- Promotes full pelvic floor relaxation
- Reduces stress and anxiety
3. Reclined Bound Angle Pose (Supta Baddha Konasana)
Also called the reclined butterfly or bound angle pose, this supported position allows gravity to do the work while you focus on breathing.
Benefits:
- Opens inner thighs without effort
- Soothes the vagus nerve
- Ideal for holding 3-5 minutes
4. Cat-Cow Flow (Marjaryasana-Bitilasana)
This gentle spinal movement helps restore coordination between your breath and pelvic floor.
Benefits:
- Improves lumbopelvic rhythm
- Mobilizes the spine
- Teaches breath-muscle synchronization
5. Deep Squat / Garland Pose (Malasana)
The deep squat naturally lengthens tight pelvic floor muscles. It’s been used for centuries to prepare the body for childbirth.
Benefits:
- Creates maximum pelvic floor stretch
- Strengthens through the release phase
- Improves bowel movements by promoting relaxation
6. Pigeon Pose (Eka Pada Rajakapotasana)
Pigeon pose targets the deep hip rotators, including the piriformis and obturator internus. These muscles sit close to the pelvic floor and often hold related tension.
Benefits:
- Releases the hip external rotators
- Addresses referred pelvic pain
- Can be modified for all levels
7. Legs Up the Wall (Viparita Karani)
This restorative inversion takes all pressure off the pelvic organs and encourages blood flow back toward the heart.
Benefits:
- Zero demand on pelvic muscles
- Reduces swelling in legs and pelvis
- Deeply calming for the nervous system
8. Supported Bridge Pose (Setu Bandhasana)
Using a yoga block under the sacrum transforms the bridge pose into a restorative experience that gently opens the front of the hips.
Benefits:
- Stretches hip flexors
- Takes pressure off the lower back
- Allows passive pelvic floor release
Step-by-Step Instructions With Modifications
Here are the step-by-step instructions to get started:
Happy Baby Pose
Setup:
- Lie on your back
- Draw your knees toward your chest
- Open your knees wider than your torso
- Reach hands to grab the outer edges of the feet (or shins)
- Flex feet so soles face the ceiling
- Keep shoulders relaxed and spine flat
Hold: 5-10 breaths
Modifications:
- If you can’t reach your feet, hold behind your thighs or use a strap around each foot
- For lower back sensitivity, place a folded blanket under your hips
- Rock gently side to side for additional release
Child’s Pose (Wide-Knee Variation)
Setup:
- Start on hands and knees
- Bring your big toes together
- Open knees wider than hip width
- Sink hips back toward heels
- Walk hands forward and lower forehead to the floor
- Let arms extend or rest alongside the body
Hold: 1-3 minutes
Modifications:
- Place a folded blanket under your knees if you experience knee pain
- Rest forehead on stacked fists or a yoga block if the floor feels too far
- Use a bolster under your torso for deeper relaxation
Reclined Bound Angle Pose
Setup:
- Lie on your back
- Bend your knees and bring the soles of your feet together
- Let knees fall open toward the floor
- Place arms alongside body, palms up
- Close your eyes and breathe into your belly
Hold: 3-5 minutes
Modifications:
- Support each knee with a yoga block or pillow to reduce hip strain
- Place a bolster lengthwise under your spine for a supported chest opener
- If the groin stretch feels too intense, move your feet further from your body
Cat-Cow Flow
Setup:
- Start on hands and knees (tabletop)
- Wrists under shoulders, knees under hips
- Inhale (Cow): Drop belly, lift chest and tailbone, gaze forward
- Exhale (Cat): Round spine, tuck tailbone, drop head
- Flow smoothly between positions
Repeat: 8-10 rounds
Modifications:
- Place a folded blanket under the knees for cushioning
- Make movements smaller if you have lower back sensitivity
- Focus on breath timing rather than the range of motion
Deep Squat (Garland Pose)
Setup:
- Stand with feet hip-width apart or slightly wider
- Turn toes out slightly
- Bend knees and lower into a deep squat
- Bring palms together at the chest
- Use elbows to gently press knees open
- Keep spine long
Hold: 30 seconds to 1 minute
Modifications:
- Place a yoga block under your hips for support
- Put a rolled blanket under the heels if they lift off the floor
- Do this pose with your back against a wall for balance
Pigeon Pose
Setup:
- From the tabletop, slide the right knee forward toward the right wrist
- Angle right shin across the mat (modify based on flexibility)
- Extend the left leg straight back
- Square hips toward the front
- Walk hands forward and lower torso over the front leg
Hold: 1-2 minutes per side
Modifications:
- Place a yoga block or blanket under the right hip if it doesn’t reach the floor
- Keep torso upright if the forward fold is too intense
- Try the reclined figure-four stretch as an alternative
Legs Up the Wall
Setup:
- Sit with one hip touching a wall
- Swing your legs up the wall as you lie back
- Scoot your hips as close to the wall as comfortably
- Rest arms out to sides, palms up
- Close your eyes and relax completely
Hold: 5-15 minutes
Modifications:
- Place a folded blanket under the hips for slight elevation
- Bend knees if hamstrings feel tight
- Move your hips a few inches away from the wall if the sensation is too strong
Supported Bridge Pose
Setup:
- Lie on your back with knees bent, feet flat on the floor
- Feet hip width apart, arms alongside body
- Lift hips and slide a yoga block under your sacrum (lowest setting first)
- Release weight onto the block
- Let arms rest, palms up
Hold: 2-5 minutes
Modifications:
- Use a block on the lowest height initially, gradually increasing over time
- If the block feels too hard, use a firm pillow or bolster instead
- For a more hip flexor stretch, extend one leg at a time toward the ceiling
Best Yoga Styles for Pelvic Health
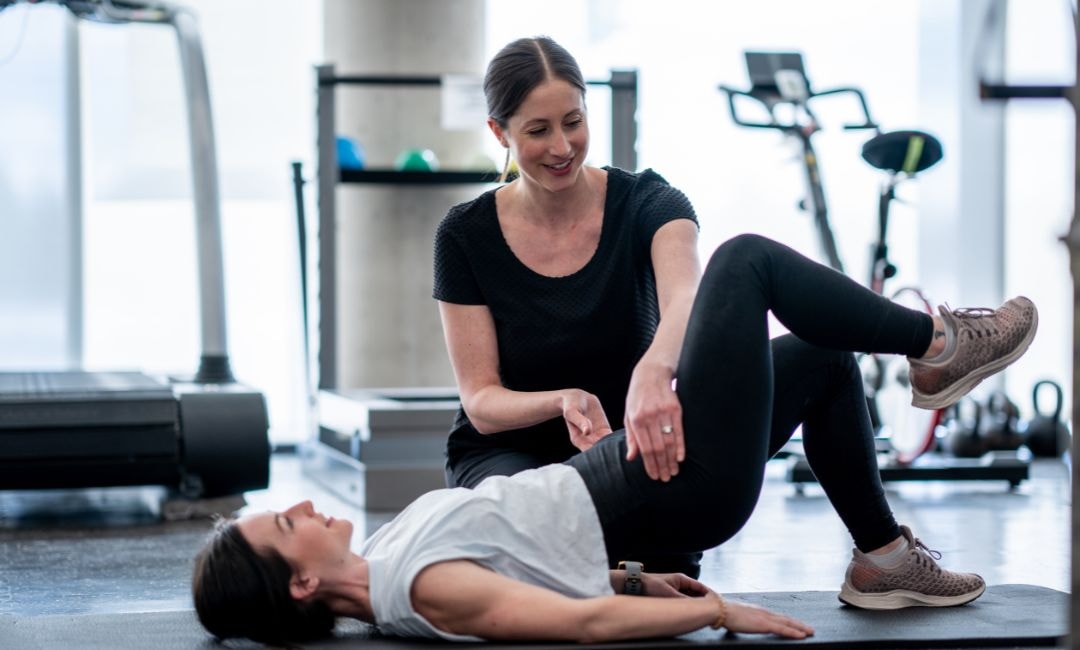
Not all yoga is the same when it comes to pelvic floor relaxation. High-intensity styles can actually increase tension. Here’s what works best:
Restorative Yoga
This is the gold standard for pelvic floor tightness. Restorative yoga uses props (bolsters, blankets, blocks) to fully support your body in each pose. You hold positions for 5-20 minutes while doing absolutely nothing.
The result? Your nervous system shifts into parasympathetic mode. Muscles that have been gripping for months (or years) finally get permission to let go.
Best for: Chronic tension, pelvic pain, stress-related tightness
Yin Yoga
Yin yoga targets the deep connective tissue (fascia) rather than muscles. Poses are held for 3-5 minutes, allowing gradual release of tissues that don’t respond to quick stretches.
Since fascia connects the pelvic floor to the hips, thighs, and lower back, Yin practice can address tension patterns that other styles miss.
Best for: Hip tightness, fascial restrictions, building body awareness
Hatha Yoga
Hatha offers a balanced approach. It moves slowly enough to maintain the mind-body connection while including both strengthening and relaxing elements.
For those with pelvic floor issues, look for classes described as “gentle” or “slow flow.”
Best for: Overall well-being, learning proper alignment, and beginners
Styles to Approach With Caution
| Style | Concern |
|---|---|
| Power Yoga | Intense core engagement can increase pelvic floor tension |
| Ashtanga | Constant mula bandha (root lock) may overtighten muscles |
| Hot Yoga | Heat can mask signals of strain or overexertion |
| Vinyasa Flow | Fast pace makes it harder to focus on relaxation |
If a class instructs you to engage your pelvic floor or “hold mula bandha” throughout, skip it. That advice works for pelvic floor weakness, not tightness.
Mistakes That Keep Muscles Tight
You can practice yoga every day and still not see improvement if you’re making these common errors:
Mistake 1: Holding Your Breath
When poses feel intense, the natural instinct is to hold your breath. This triggers tension throughout your body, including the pelvic floor.
Fix: Maintain slow, steady breathing even in challenging positions. If you can’t breathe deeply, back off the intensity.
Mistake 2: Doing Kegels When You Shouldn’t
Kegels strengthen through contraction. If your pelvic floor is already hypertonic (overly tense), contracting it further worsens symptoms like urinary urgency, painful sex, and constipation.
Fix: Skip Kegels until a physical therapist confirms your muscles need strengthening rather than relaxation.
Mistake 3: Forcing Depth in Poses
Aggressive stretching activates your body’s protective response. Muscles contract to prevent injury, which is the opposite of what you want.
Fix: Meet your body where it is. Use props generously. A gentle stretch held for longer beats a deep stretch held with tension.
Mistake 4: Clenching Your Jaw
Your jaw and pelvis are neurologically connected. Tension in one often creates tension in the other.
Fix: During your yoga practice, consciously relax your jaw. Let your teeth part slightly. Soften your tongue away from the roof of your mouth.
Mistake 5: Skipping Rest Poses
Savasana (corpse pose) isn’t filler. It’s where integration happens. Your nervous system needs time to process the relaxation signals you’ve been sending.
Fix: Never skip the final rest. Stay for at least 5 minutes, focusing on deep breathing and total surrender.
Mistake 6: Practicing Inconsistently
One yoga session won’t undo years of tension. Your body needs repeated signals that it’s safe to let go.
Fix: Aim for short, daily sessions (even 10-15 minutes) rather than occasional long practices.
When to Combine Yoga With Professional Care
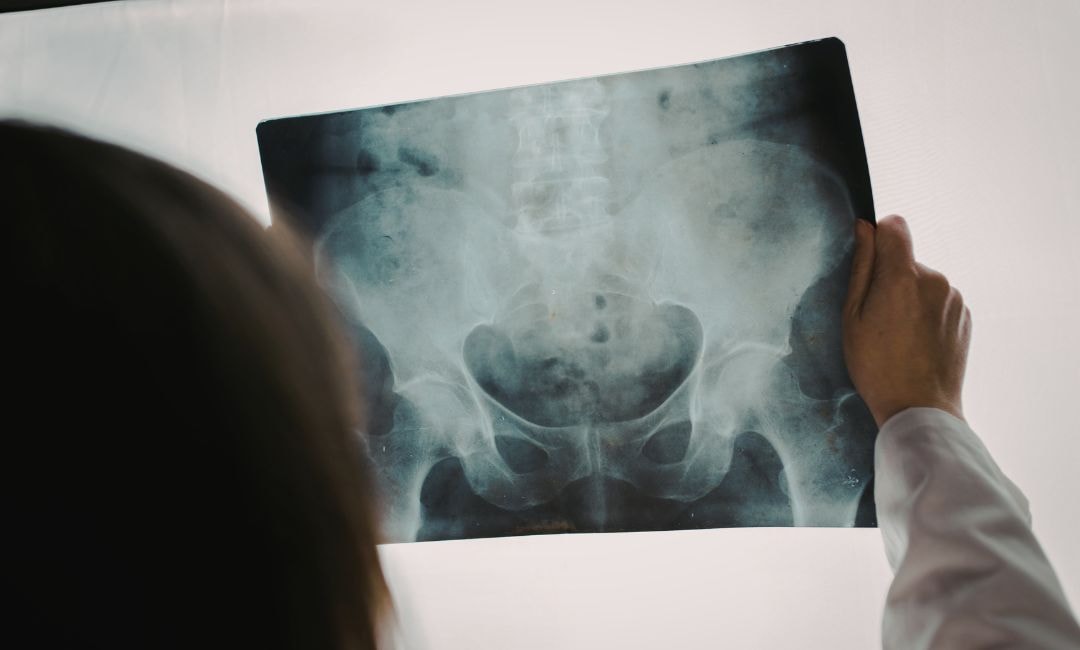
Yoga exercises can do a lot. But sometimes they’re not enough on their own.
Signs You Need Additional Support
- Symptoms persist after 6-8 weeks of consistent practice
- Pain increases during or after yoga
- You experience leaking urine during poses
- Sexual function hasn’t improved
- You’re unsure if your pelvic floor is tight, weak, or both
Working With a Pelvic Floor Physical Therapist
A physical therapist specializing in pelvic health can assess your muscles internally and externally. They’ll determine:
- Whether you have pelvic floor tightness, pelvic floor weakness, or both
- Which specific muscles are involved
- What’s driving the dysfunction (posture, breathing patterns, trauma, etc)
- Which exercises will help vs. harm
Many pelvic floor PTs incorporate yoga into treatment plans. They can also teach you manual release techniques, use biofeedback to show you what your muscles are doing, and address issues yoga alone can’t fix.
Other Professionals Who Can Help
| Provider | When to See Them |
|---|---|
| Urogynecologist | Pelvic organ prolapse, severe urinary incontinence, anatomical concerns |
| Gynecologist | Rule out conditions like endometriosis or interstitial cystitis |
| Mental health professional | Trauma, chronic stress, or anxiety contributing to tension |
Combining Approaches
The best outcomes often come from a team approach:
- Physical therapy for assessment and targeted treatment
- Yoga for ongoing maintenance and nervous system regulation
- Medical care for underlying conditions
- Mental health support for emotional factors
At Natura Dermatology & Cosmetics in Fort Lauderdale, we believe in treating the whole person. Our team can help coordinate your care and connect you with trusted specialists who understand the pelvic area and its connection to overall well-being.
Find Balance With Natura Dermatology
Your pelvic floor doesn’t exist in isolation. It’s connected to your breath, your stress levels, your posture, and your overall wellness. Yoga exercises for pelvic floor relaxation offer a powerful way to release tension, retrain your nervous system, and restore function without aggressive interventions.
Key takeaways:
- Yoga works because it teaches relaxation, not just strength
- Your diaphragm and pelvic floor move together with every breath
- Happy baby, child’s pose, and reclined butterfly are the top poses for release
- Restorative and Yin yoga styles work best for tight muscles
- Common mistakes (breath holding, forcing depth, doing Kegels) can worsen tightness
- Professional guidance accelerates results and prevents setbacks
- Consistency matters more than intensity
At Natura Dermatology & Cosmetics, we support your wellness journey with a holistic approach to care. Whether you’re looking for guidance, complementary treatments, or trusted referrals, our Fort Lauderdale team is here to help. Schedule a consultation and experience the Natura difference.
FAQs
How do you relax pelvic floor muscles in yoga?
Start with diaphragmatic breathing. Inhale deeply so your belly expands and your pelvic floor naturally drops toward your sit bones. Hold poses like happy baby, child’s pose, or reclined bound angle for at least 60 seconds while breathing slowly. Focus on releasing rather than stretching. Let gravity do the work. The key muscles between your pubic bone and tailbone will gradually learn to let go with consistent practice.
What emotion is held in the pelvic floor?
Fear, anxiety, shame, and trauma are commonly stored in the pelvic floor. When you feel threatened, your body instinctively tightens this area as part of the “fight or flight” response. Chronic stress keeps muscles contracted long after danger passes.
Sexual trauma particularly affects pelvic floor health and sexual health. This explains why calming the nervous system through breath and gentle movement helps muscles finally release guarded tension.
How do you relax an overly tight pelvic floor?
Stop doing Kegels first. They worsen tightness. Focus instead on exercises designed to lengthen and release. Practice diaphragmatic breathing for a few seconds multiple times daily. Add gentle yoga poses that open hips and stretch inner thighs, which connect to the pelvic floor and other muscles.
Address stress since emotional tension directly impacts muscle tension. If symptoms persist after starting a new exercise regimen, consult a healthcare provider for personalized guidance.
What is the number one pelvic floor exercise?
Diaphragmatic breathing. Not Kegels. Breathing exercises work for all pelvic floor conditions because they restore natural coordination between your diaphragm and pelvic floor. When you inhale deeply, your pelvic floor lengthens.
When you exhale, it gently lifts. This improves circulation, reduces tension, and builds awareness. Physical therapists recommend it as the foundation of any exercise regimen because it safely addresses both tight muscles and stress incontinence.


